Achieving Excellence in Advanced Fashion Photo Editing
- Russell Pough

- May 5
- 2 min read
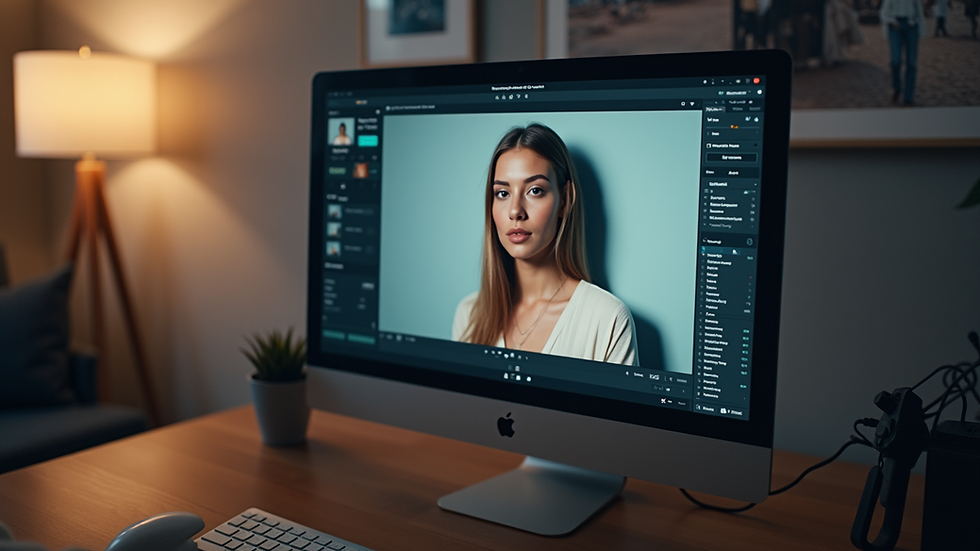
Fashion photography demands precision. Every detail counts. Retouching is key. It transforms raw images into polished works of art. I focus on clarity, texture, and color balance. This post breaks down essential steps for advanced fashion photo editing. It offers practical tips for professionals and enthusiasts alike.
Mastering Advanced Fashion Photo Editing Techniques
Start with a clean base. Use high-resolution images. Check lighting and exposure. Correct any color casts early. I rely on tools like Adobe Photoshop and Lightroom. They offer control over every pixel.
Key steps include:
Skin smoothing: Use frequency separation to keep texture.
Color grading: Adjust tones to match the mood.
Sharpening: Enhance details without noise.
Background cleanup: Remove distractions carefully.
I always work non-destructively. Layers and masks preserve original data. This allows flexibility and reversibility.
Essential Tools for Precision and Efficiency
Choosing the right tools speeds up workflow. I use:
Pen tool for precise selections.
Clone stamp for removing blemishes.
Dodge and burn to sculpt light and shadow.
Adjustment layers for color and contrast tweaks.
Plugins can help. Frequency separation plugins simplify skin retouching. Color lookup tables (LUTs) speed up grading.
Organize layers clearly. Name them by function. Group related edits. This keeps the project manageable.
How to edit photos to make clothes look see through?
This effect requires subtlety. The goal is to suggest transparency without losing fabric texture.
Steps:
Duplicate the clothing layer.
Lower opacity to around 30-50%.
Use layer masks to control which areas show transparency.
Add a slight blur to the duplicated layer for softness.
Use dodge and burn to enhance highlights and shadows.
Adjust color balance to keep natural skin tones visible beneath.
Avoid overdoing it. The effect should be tasteful and realistic.

Color Correction and Skin Tone Matching
Color accuracy is critical. Skin tones must look natural. Clothes should pop without overpowering the model.
I use:
White balance correction to neutralize color casts.
Selective color adjustments to refine hues.
Curves and levels for contrast control.
Match skin tones across multiple shots for consistency. Use reference points like eyes and lips.
Check colors on calibrated monitors. This ensures what you see is what prints or displays.
Final Touches and Export Settings
Before exporting:
Zoom in to 100% and check details.
Flatten layers if needed, but keep a master PSD.
Resize images for intended use (web, print).
Use appropriate file formats: TIFF for print, JPEG for web.
Sharpen images last. Use output sharpening tailored to the medium.
Keep backups of all versions. This protects your work and allows future edits.
Building a Workflow for Consistent Results
Consistency is key in fashion photography retouching. Develop a repeatable process:
Start with image assessment.
Apply base corrections.
Perform detailed retouching.
Finalize color grading.
Export and archive.
Use presets and actions to speed up repetitive tasks. Customize them to fit each project.
Regularly update your skills. Follow industry trends and new software features.
Achieving excellence in advanced fashion photo editing requires discipline and attention to detail. By mastering tools and techniques, you can elevate your images and create stunning visuals that stand out. For more insights, explore fashion photography retouching.


Comments